Implant Single Tooth Restoration
Implant Partial Jaw Restoration
Implant One Jaw Restoration
Implant Full Mouth Restoration
*The requirements for participation are the same for all subcategories.
Implant cases
Requirements
This category is open to implant cases treated single tooth restoration, partial jaw restoration or full mouth restoration.
Judging criteria
The jury anonymously evaluates the submissions in the category according to the following criteria:
Diagnosis and treatment plan
Surgery
Prosthetics
Occlusion
Photo documentation
General treatment execution
Case description
Submissions must include a short description of the clinical case in English, not longer than 6,000 symbols.
Descriptions must outline:
Surgical finding
Pre-operative evaluation
Treatment plan
number and kind of teeth planned for restoration
number and type of planned implants
characteristics of the edentulous area
width, length and quality of the alveolar ridge and gingiva
need for improving the bone/gingiva quality taking into account the long-term implant prognosis and the health of the surrounding soft tissue
esthetic “challenges”
pink/white esthetics, positioning of the planned prosthesis, restoring the interdental papillae, width of the attached gingiva
planned procedures
Short summary of the case: evaluation and comment on treatment results
General photo documentation guidelines
Removed saliva, plaque, food, crown-cement residue.
Use make-up when photographing the patient’s face.
The camera is centered at an appropriate angle.
Use a backdrop when necessary.
Retractors, mirrors and other elements must not be in the field of view.
Images must have good contrast, brightness and white balance.
Photos must be symmetric and cropped properly.
Objects in photos must be scaled appropriately.
Names and initials (patient’s and dental professional’s) must not be in the photos.
Initial photo documentation (before treatment)
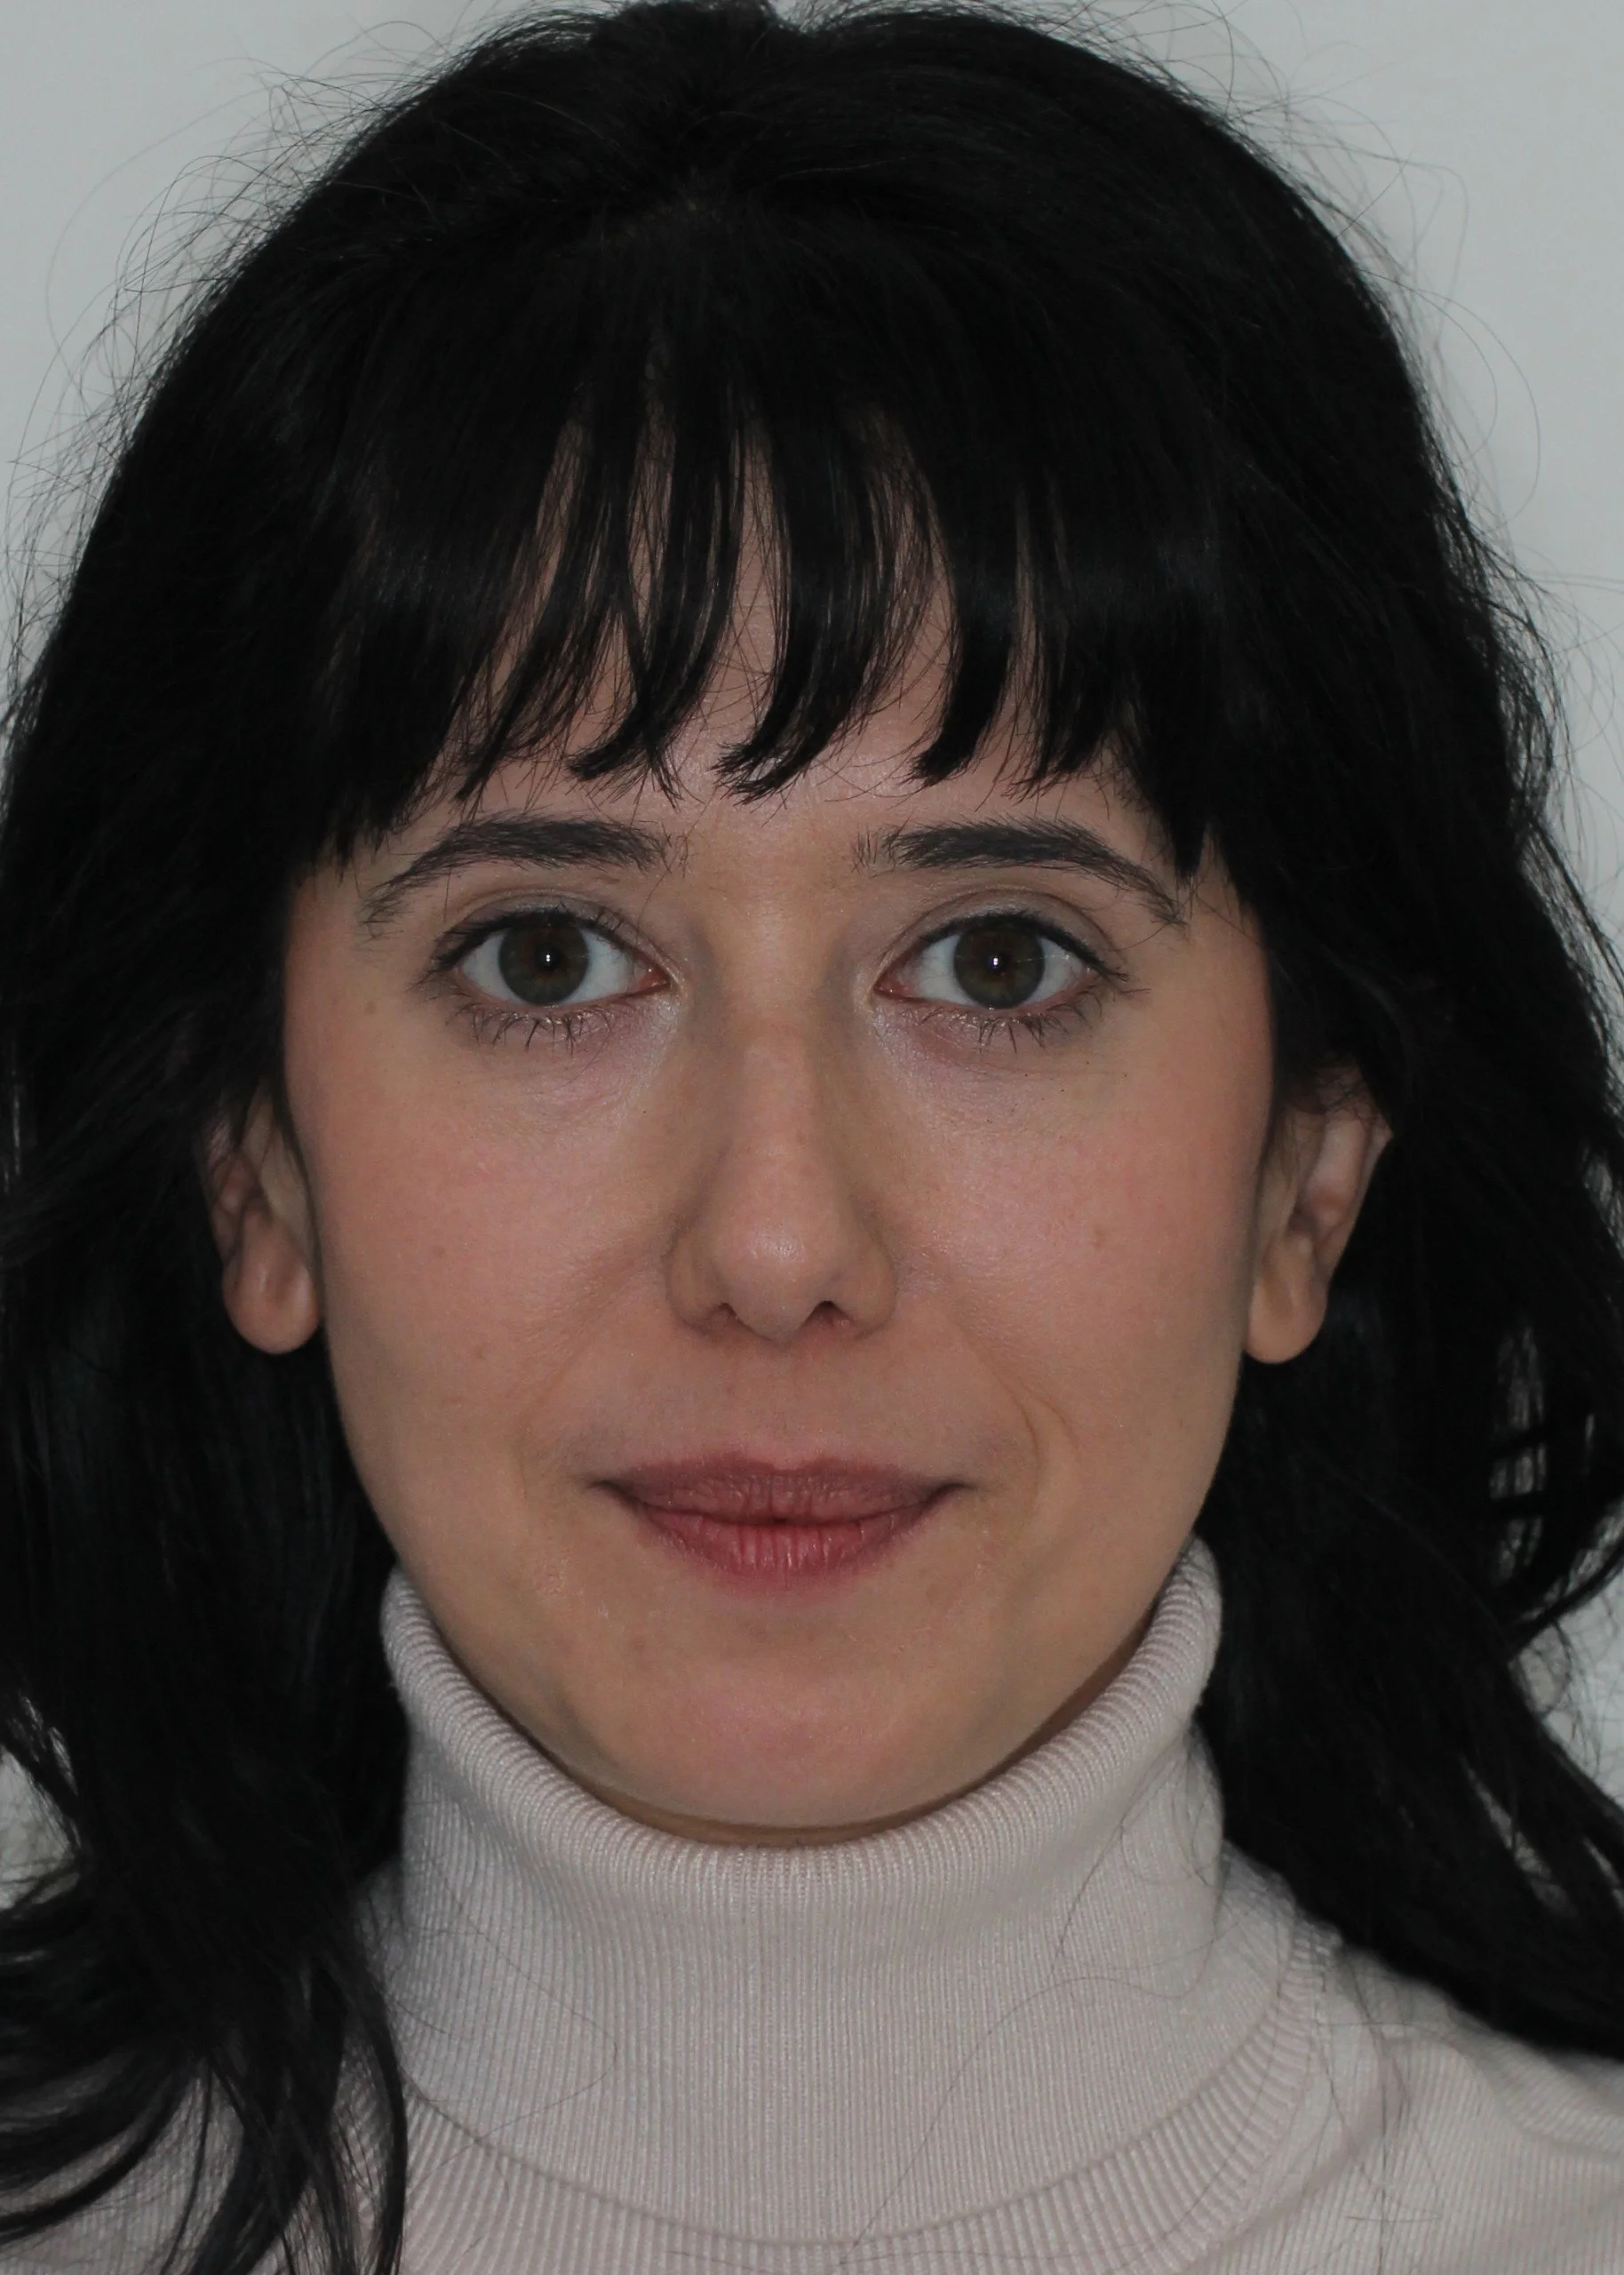
1. Full facial front – recommended image
• 1:10 magnification
• Whole face is visible, the top of the hair and the bottom of the neck can be cropped out.
• The interpupillary line is the horizontal midline of the image.
• Focus is on the eyes.
• Background is plain and undistracting.
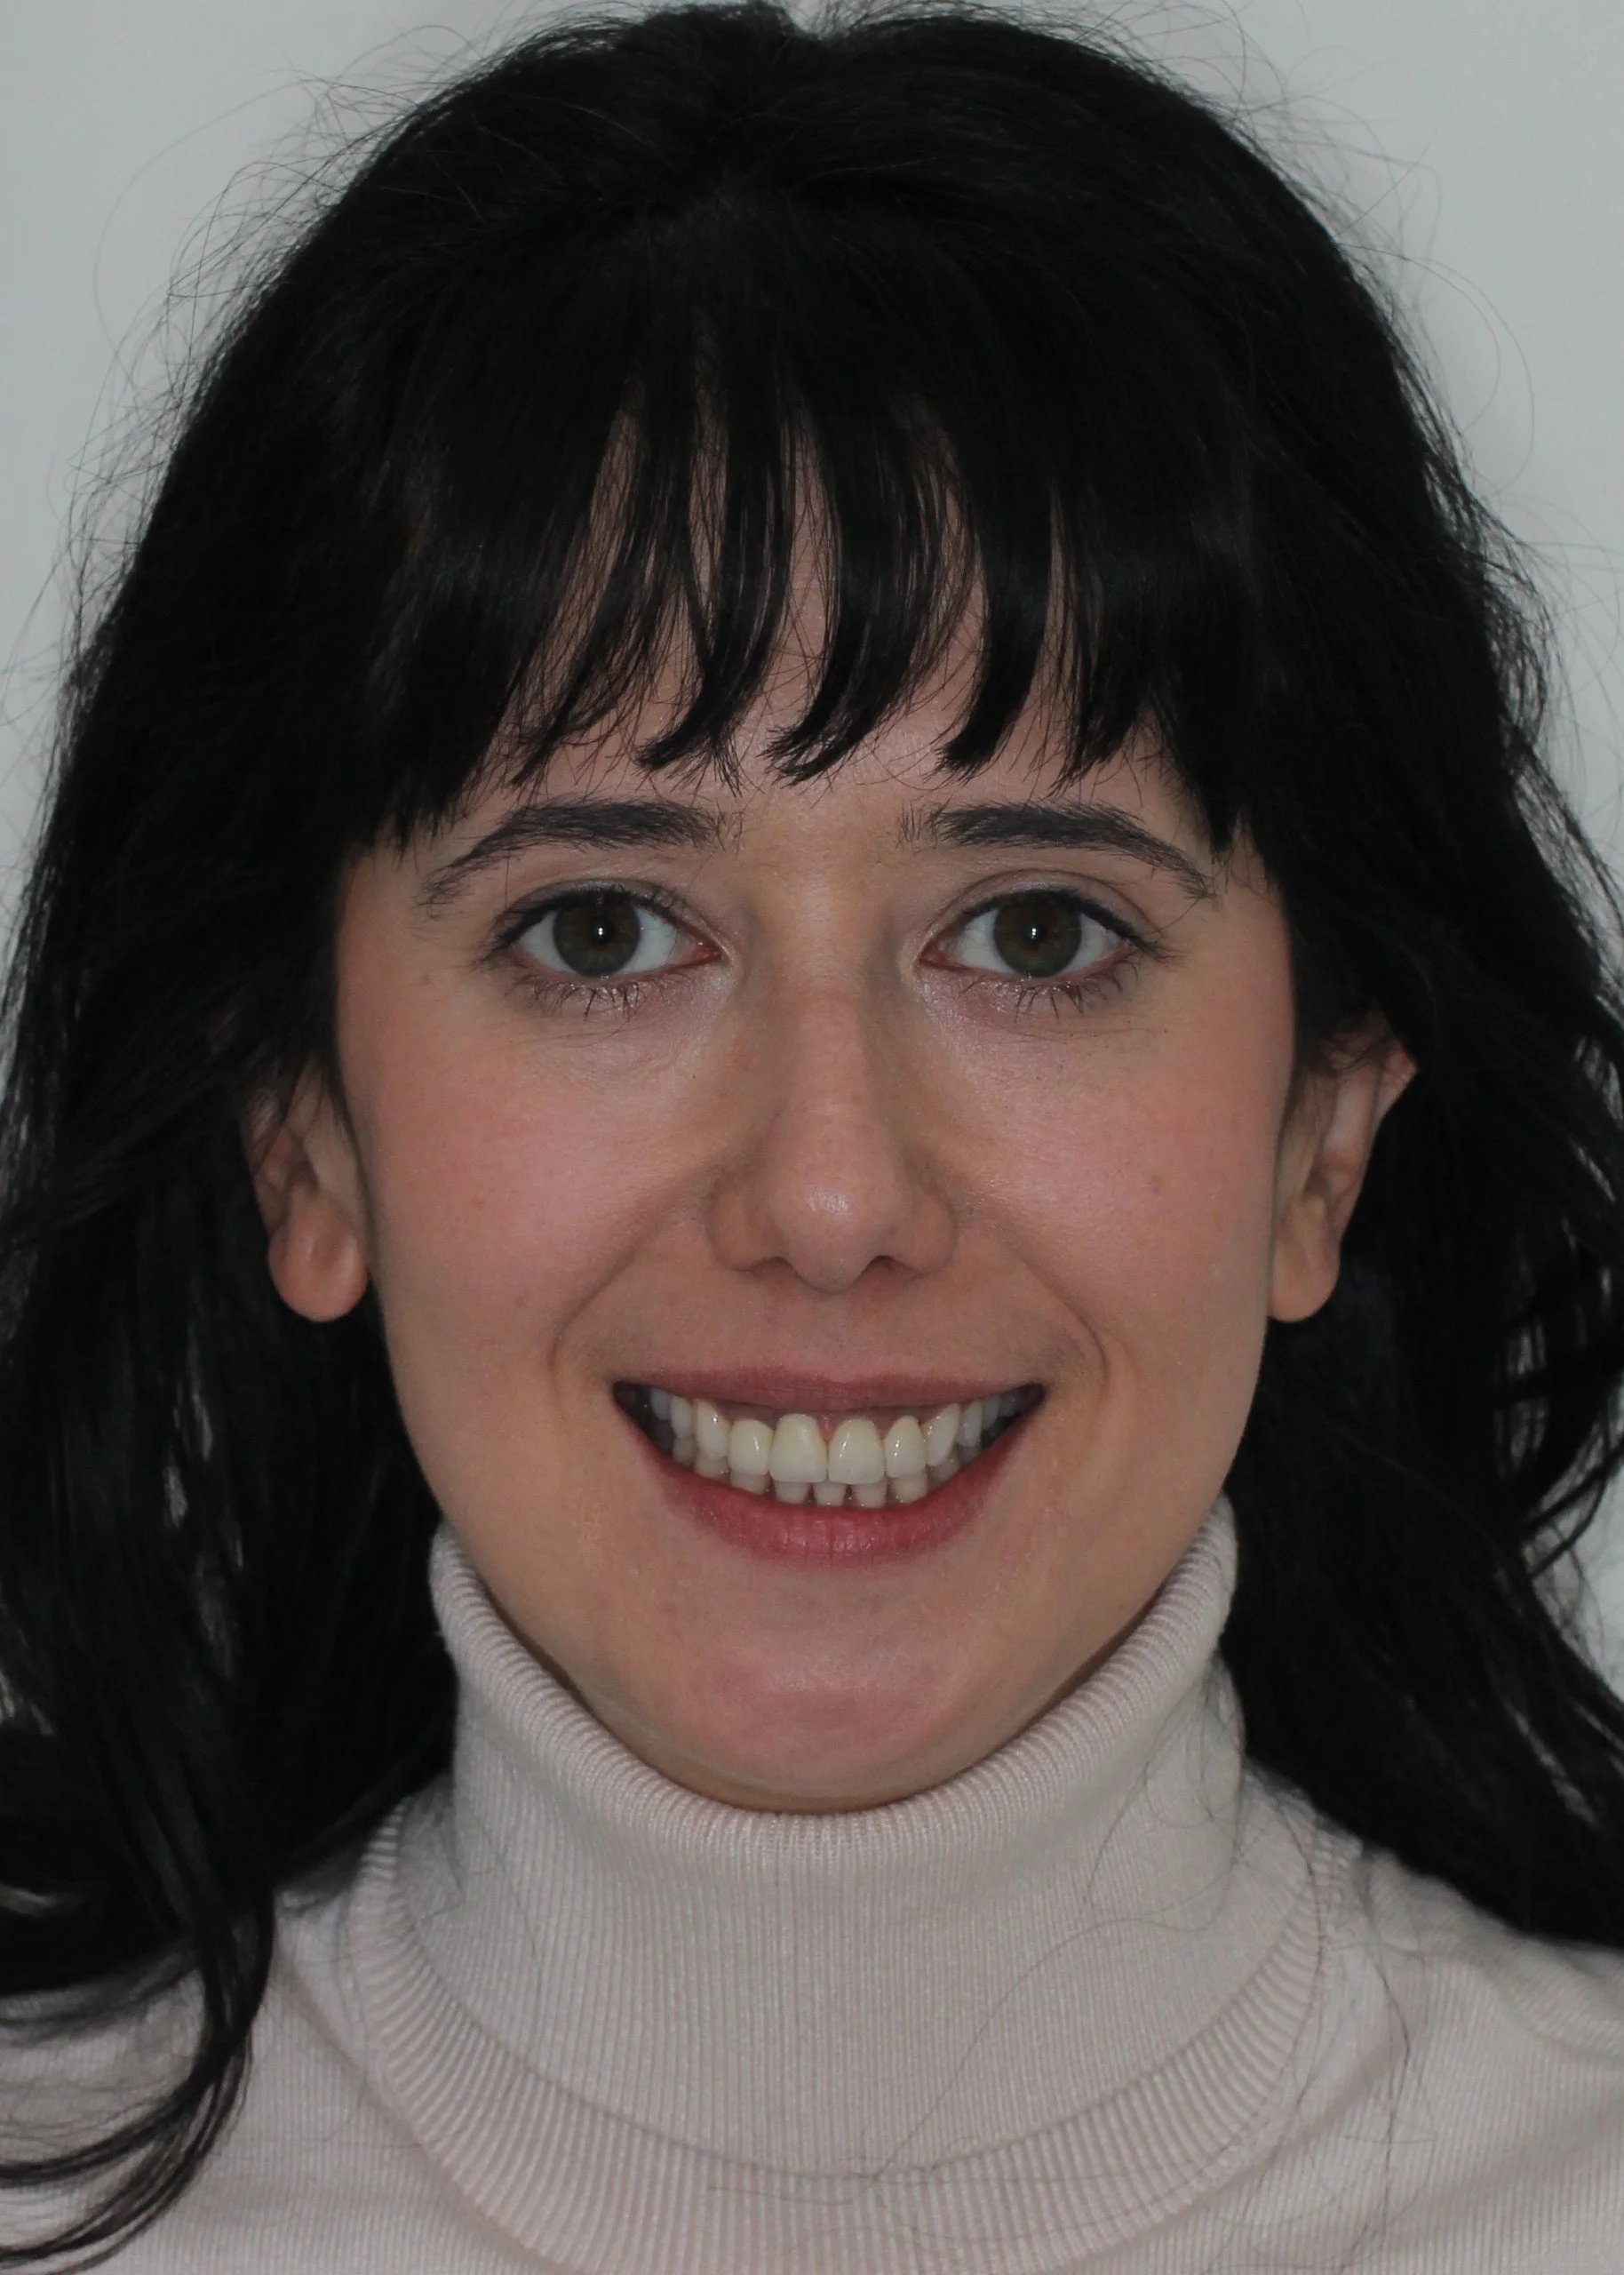
2. Full facial front, wide smile
• 1:10 magnification.
• Patient’s smile is wide and natural.
• Whole face is visible, the top of the hair and the bottom of the neck can be cropped out.
• Both dental arches are visible.
• Background shadows must be reduced.
• The philtrum and nose are centrally positioned in the frame.
• Patient’s head is straight up.
• Camera is levelled with the nose.
• Camera is oriented on the interpupillary line and the vertical midline of the face.
• Focus is on the teeth.
• Background is plain and undistracting.
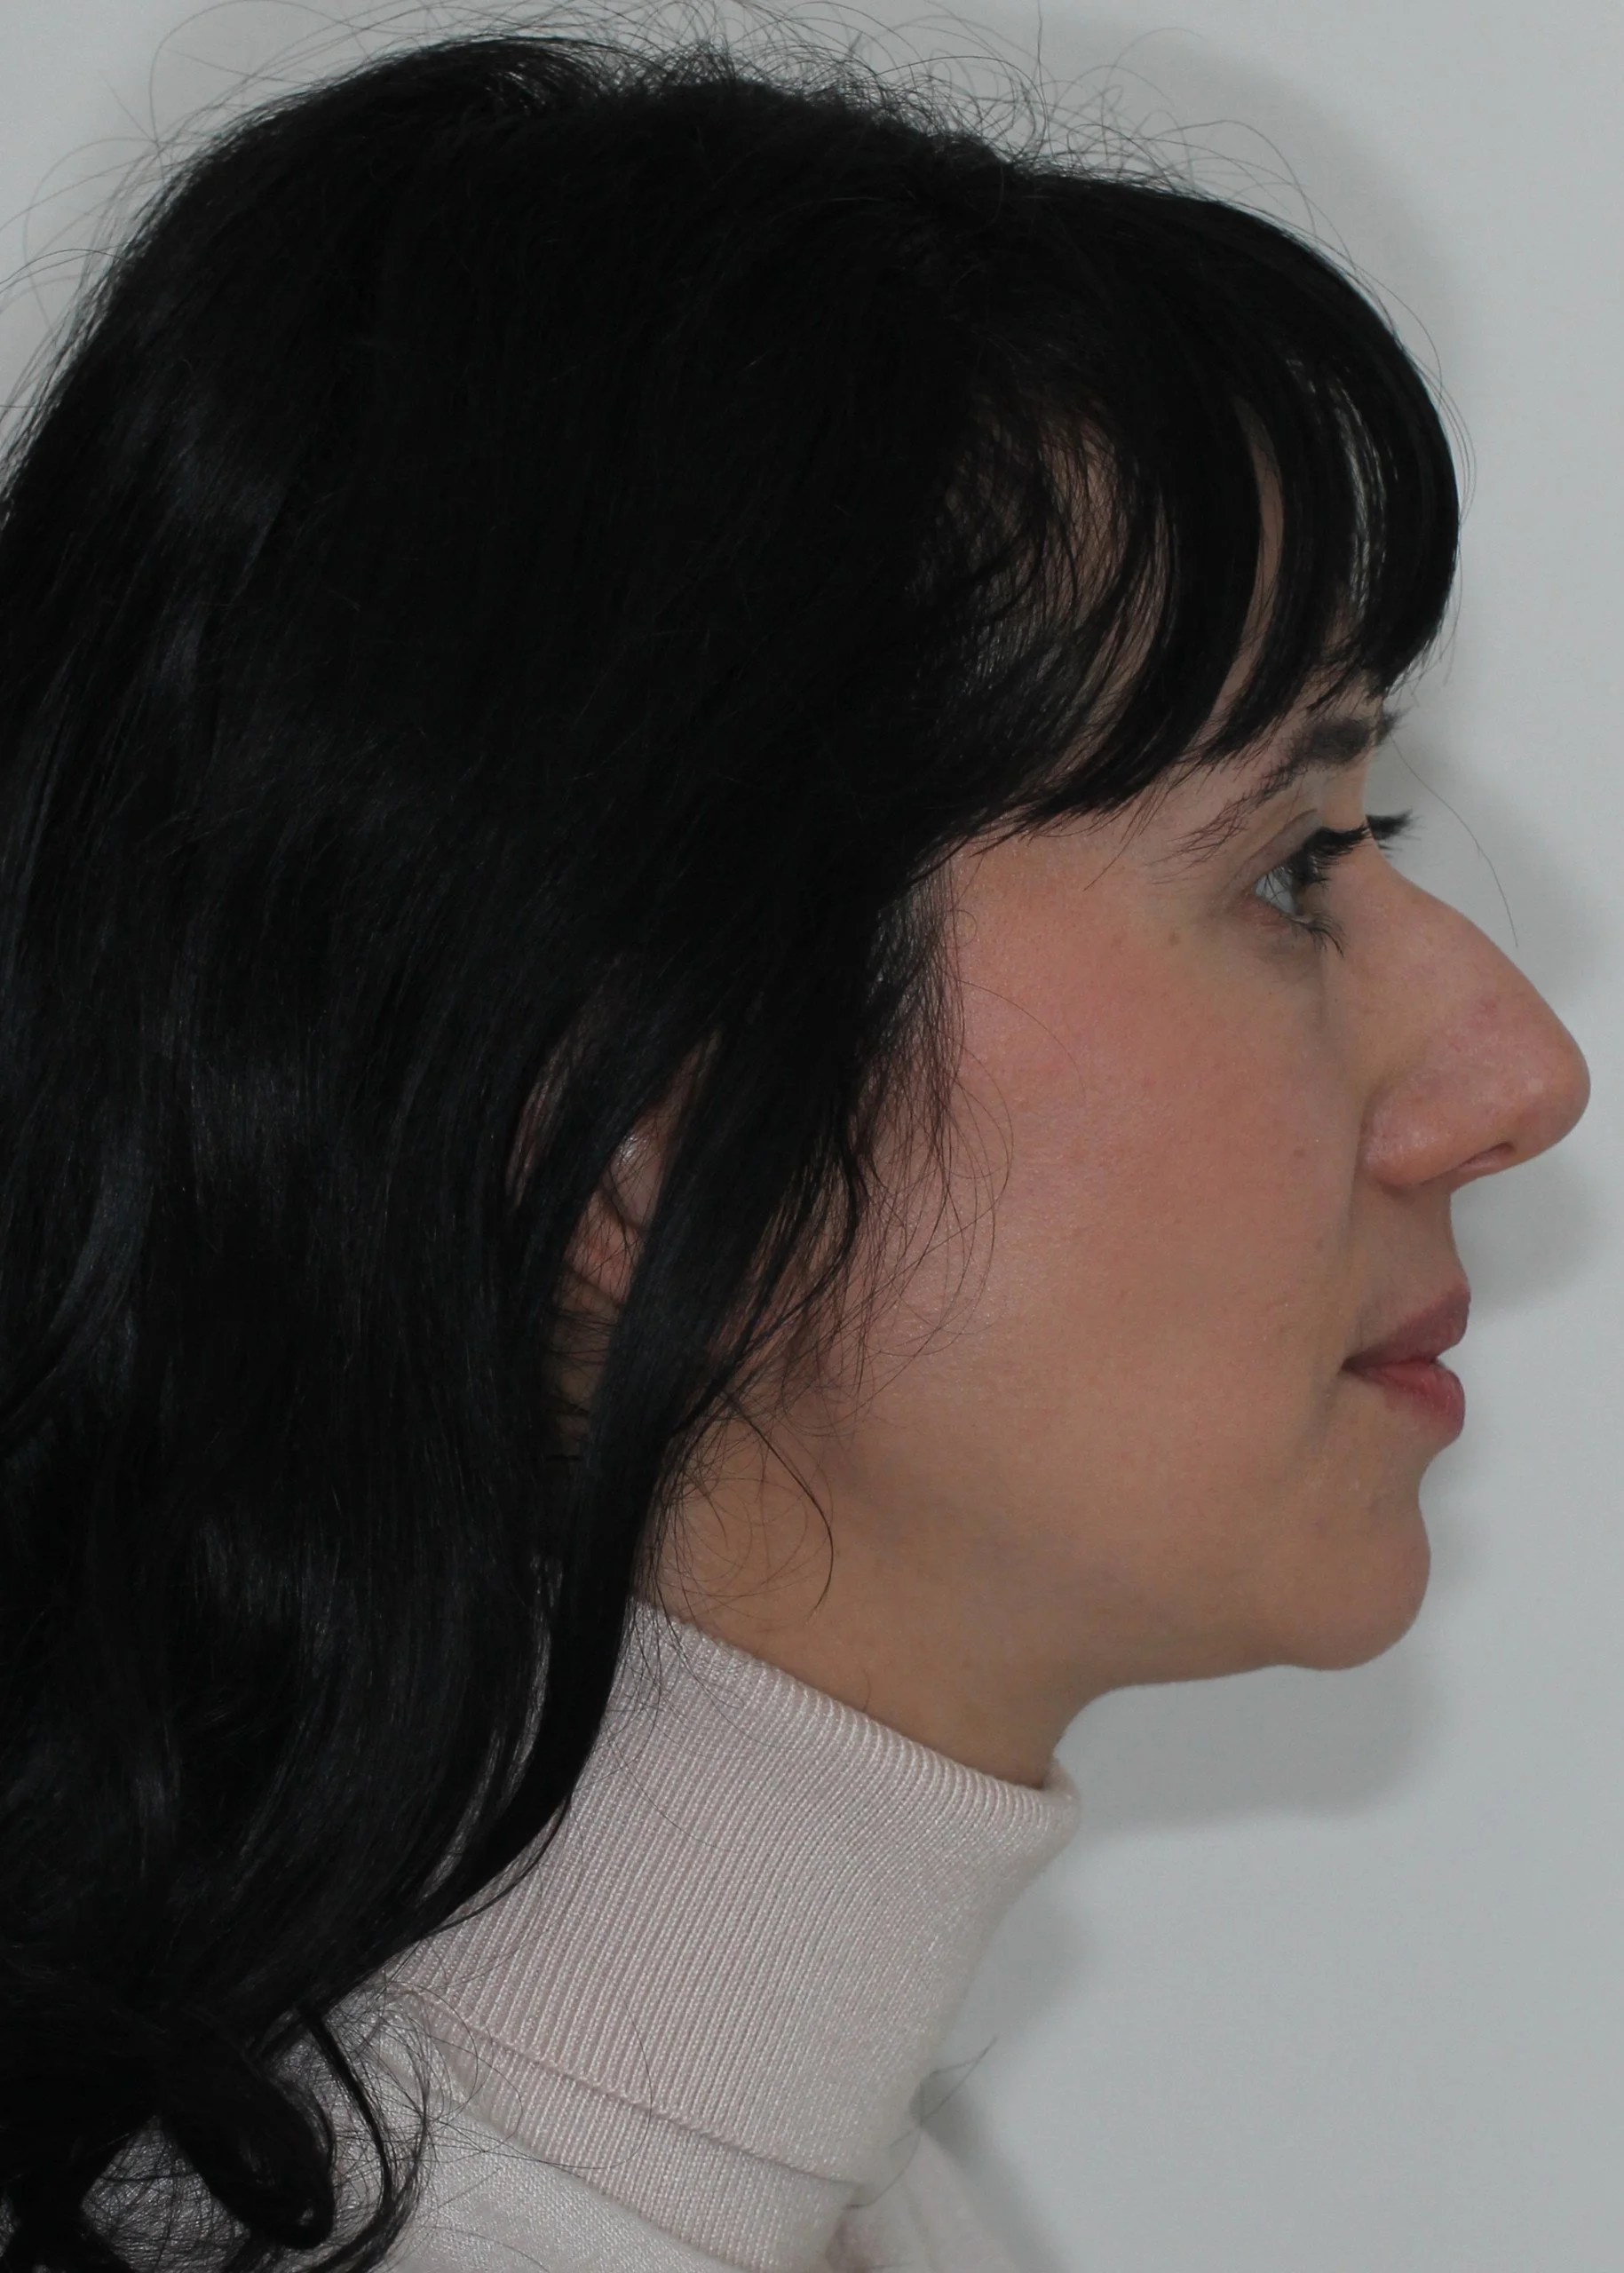
3. Facial profile at rest
• 1:10 magnification.
• The right profile view, the hair must be away from the face.
• The face is at a ¼ distance from the edge of the image.
• The Frankfort horizontal plane is the horizontal midline of the image.
• Background is plain, without shadows.
4. Frontal view, bite
• 1:2 magnification.
• Show as much of the gingiva and teeth as possible.
• The philtrum is centered.
• The incisal plane of the upper teeth is the horizontal midline of the image.
• Camera is levelled with the teeth.
5. Sagittal occlusal view – left and right (no mirror, bite)
• 1:2 magnification.
• Show the front teeth from the central incisor to the distal surface of the first molar, or more distally.
• Show as much of the gingiva as possible.
• Show as little of the retractors and lips as possible.
• The midline of the image is the midline of the canine.
• If possible, the incisal plane of the upper teeth is the horizontal midline of the image, if possible.
• Use a mirror.
6. Occlusal view of upper teeth
• 1:2 magnification.
• Use a mirror.
• Use a retractor.
• Crop the image to show as many teeth as possible.
• Camera is at a 45-degree angle with the mirror.
7. Occlusal view of lower teeth
• 1:2 magnification.
• Use a mirror.
• Use a retractor.
• The nose is not visible.
• Crop the image to show as many teeth as possible.
• Camera is at a 45-degree angle with the mirror.
• The tongue is not visible.
• Take the picture facing the patient. If you take the picture from behind the patient, it is recommended that they lie down.
8. Please, include X- ray before obtuariation.
Same photo documentation as in Before Treatment.
Photo documentation of how the prosthetic restoration was fabricated are optional, but recommended.
Include final x-ray (panoramic or periapical).
Lab stages.
Clinical stages of the prosthetic treatment.
Additional photo documentation
After treatment
Close-up of the surgical site
Articulatory contacts – articulation paper spots
Protrusion – at minimum, show the implant and neighboring teeth in protrusion
Surgical interventions – optional, but recommended


